
How to Use an Air Fryer for the First Time: 10 Easy Steps (2026)
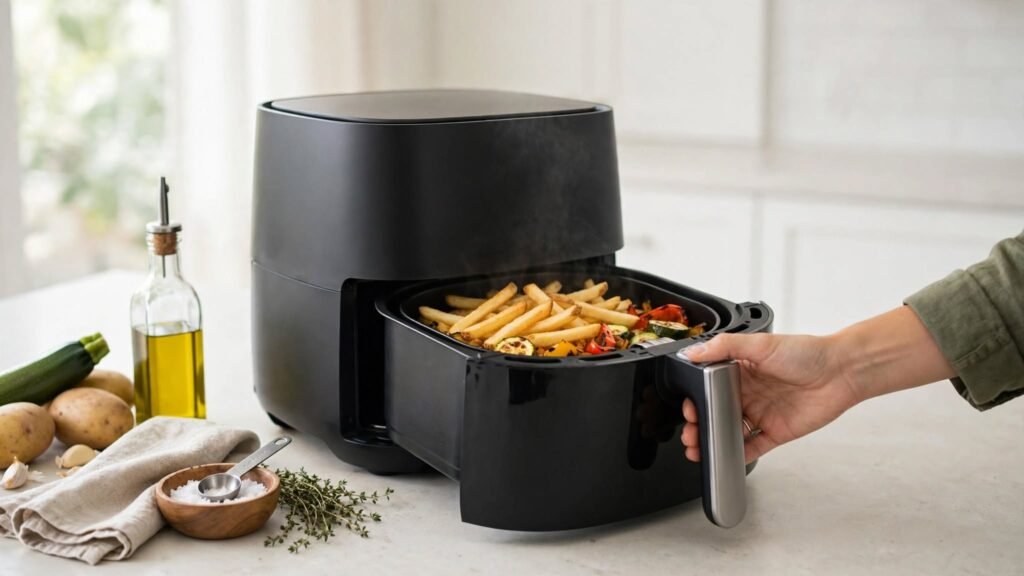
Using a new air fryer for the first time is easier than it looks. The confusing part usually comes before the food goes in: Do you need to wash the basket? Should you run the appliance empty? Do you have to preheat it? How much food can you add?
This guide walks you through the first-time air fryer setup and cooking process, from opening the box to cleaning up after your first meal.
If you want a broader explanation of what an air fryer is, how it works, what you can cook, and how to use it in general, see our What Is an Air Fryer? guide.
How to Use an Air Fryer for the First Time
For your first use, the basic process is:
- Remove the packaging.
- Wash the removable parts.
- Read the important parts of the manual.
- Position the air fryer correctly.
- Follow your model’s first-use instructions.
- Decide whether preheating is needed.
- Prepare a simple first food.
- Arrange the food without overcrowding.
- Cook, shake or turn when appropriate, and check for doneness.
- Remove the food safely and clean the appliance.
The exact buttons and settings vary between models, but these steps give you a practical starting point.
What to Do Before Using an Air Fryer for the First Time
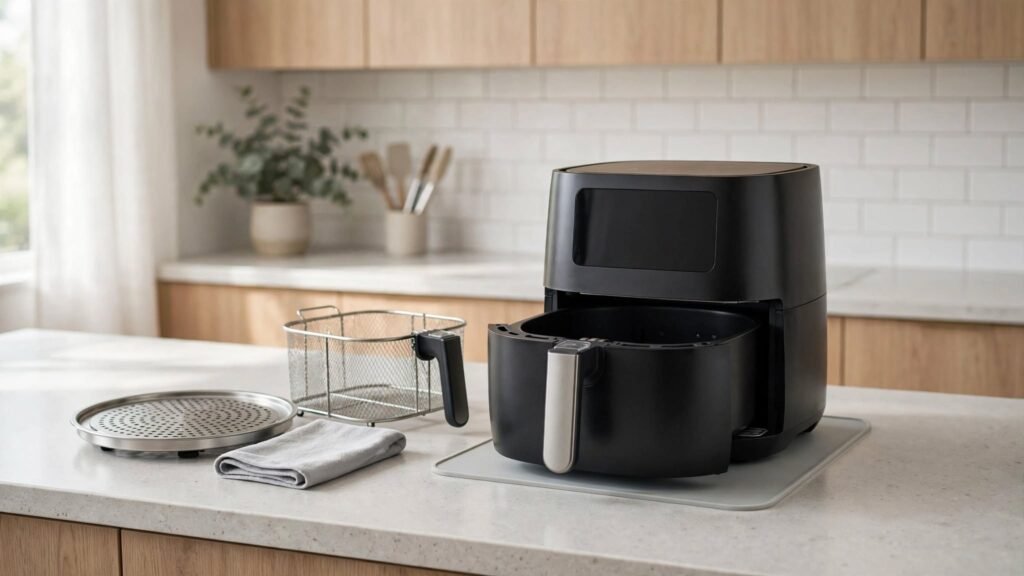
Don’t rush straight into cooking after opening the box. A few minutes of preparation can prevent problems later.
1. Remove All Packaging
Take the air fryer and its accessories out of the packaging carefully.
Look for:
- Plastic film
- Foam inserts
- Cardboard
- Protective stickers
- Plastic bags
- Packaging inside the basket
- Protective material around accessories
Check the cooking chamber carefully. Small pieces of packaging can sometimes be easy to miss.
Do not operate the appliance until all packaging materials have been removed.
2. Wash the Removable Parts
Wash the basket, crisper plate, tray, rack, or other removable cooking parts before preparing food.
Warm water and mild dish soap are generally suitable unless your manufacturer’s instructions say otherwise.
Pay particular attention to surfaces that will come directly into contact with food.
After washing, rinse and dry the parts thoroughly.
Do not immerse the main electrical unit in water.
3. Inspect the Air Fryer
Before plugging it in, look over the appliance.
Check that:
- The basket fits correctly.
- The cooking tray or crisper plate is properly positioned.
- The power cord is not damaged.
- No packaging remains inside.
- The ventilation openings are unobstructed.
If something doesn’t look right, don’t switch the appliance on until you’ve checked the instructions for your model.
4. Read the Important Parts of the Manual
You don’t necessarily need to memorize the entire manual before making your first meal.
But you should know where to find information about:
- Temperature settings
- Cooking programs
- Maximum fill level
- Preheating
- First-use instructions
- Cleaning
- Dishwasher safety
- Recommended accessories
- Ventilation
- Safety warnings
This matters because air fryers aren’t identical.
A basket-style model can operate differently from an oven-style air fryer, and features can vary considerably between manufacturers.
5. Put the Air Fryer in the Right Place
Choose a stable, heat-resistant surface with enough open space around the appliance.
Keep the air fryer away from:
- Curtains
- Paper products
- Flammable materials
- Areas where the vents are blocked
- Unstable surfaces
- Locations where the hot basket could easily be knocked into someone
Don’t push the appliance tightly against a wall or underneath something that restricts ventilation.
The exact clearance requirements can vary by model, so use your manual as the final reference.
Should You Run an Air Fryer Empty Before First Use?
It depends on the model.
This is an important point because first-use instructions are not universal.
Some manufacturers may recommend an empty heating cycle before cooking. Others may provide different preparation instructions.
So don’t automatically assume that every air fryer should be run at a particular temperature for a particular number of minutes.
Instead:
- Check the manufacturer’s first-use instructions.
- Remove all packaging.
- Wash the removable parts.
- Follow the recommended first-use procedure for your model.
If your model doesn’t call for an empty run, there is no reason to invent one.
A slight new-appliance odor during initial use can occur, but persistent or unusual smells, smoke, or other problems should not simply be ignored.
How to Use an Air Fryer for the First Time: 10 Easy Steps
Once the appliance is prepared, you’re ready for your first meal.
Step 1: Choose a Simple Food
For your first attempt, choose something relatively straightforward.
Good beginner options include:
- Frozen French fries
- Hash brown patties
- Chicken nuggets
- Fish sticks
- Frozen vegetables
- Onion rings
- Potato wedges
Simple foods let you learn how quickly your particular air fryer cooks without adding too many variables.
You don’t need to start with an elaborate recipe.
Step 2: Prepare the Food
Prepare the food according to the recipe or package instructions.
For fresh foods, this might mean:
- Washing vegetables
- Cutting food into similar-sized pieces
- Patting wet ingredients dry
- Seasoning the food
- Applying a light coating of oil when appropriate
Try to keep pieces reasonably similar in size.
If one piece is much thicker than the others, it may need more cooking time even if everything entered the basket together.
Step 3: Decide Whether to Preheat
Preheating isn’t automatically required for every air fryer or every recipe.
Check the recipe first. Then check your air fryer’s instructions.
If preheating is recommended, allow the appliance to reach the required temperature before adding the food.
If the recipe doesn’t require preheating, you may be able to start cooking without it.
The important thing is consistency. If you change the preheating method every time you make the same recipe, it becomes harder to understand why the cooking result changed.
Step 4: Add the Food to the Basket
Place the food into the basket or onto the cooking tray.
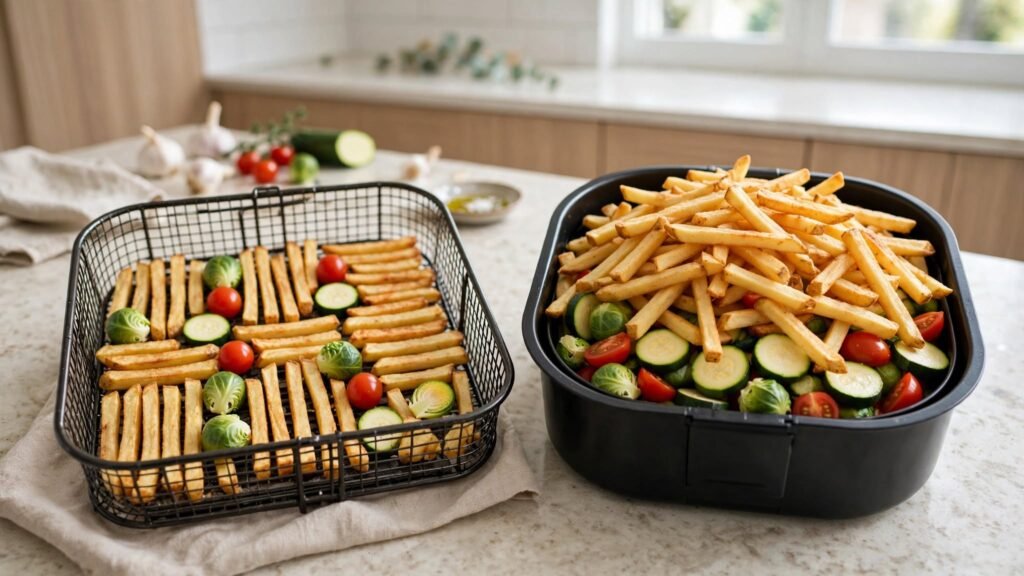
Whenever practical, arrange the pieces in a relatively even layer.
Avoid packing the basket tightly.
Hot air needs space to circulate around the food. When too many pieces are pressed together, you can end up with food that cooks but doesn’t brown or crisp evenly.
If your first batch doesn’t fit comfortably, cook in batches rather than forcing everything into the basket.
Step 5: Use an Appropriate Amount of Oil
Some foods need no additional oil.
Others benefit from a small amount to improve browning or crisping.
If oil is appropriate for your recipe, use a light coating rather than pouring a large quantity into the basket.
You can:
- Lightly coat the food before cooking
- Brush on a small amount
- Use an appropriate oil spray
The goal is not to cover everything in oil.
Too much oil can create smoke, leave excess grease behind, and make cleanup more difficult.
Step 6: Set the Temperature and Cooking Time
Set the temperature and time recommended by your recipe or the food’s package instructions.
Don’t assume that every food should be cooked at the same temperature.
For example, a thin frozen snack and a thick piece of chicken have very different cooking requirements.
If you’re adapting an oven recipe, don’t blindly copy the oven temperature and cooking time. Our What Is an Air Fryer? guide explains the basics of using an air fryer, while our separate conversion guide can be used when you specifically need to convert oven cooking instructions.
For your first attempt, it’s better to treat the listed cooking time as an estimate rather than a promise.
Step 7: Start Cooking
Insert the basket securely and start the cooking cycle.
During cooking, the air fryer heats the air and circulates it around the food.
You don’t need to constantly open the basket.
Opening it repeatedly releases heat and can make it harder to judge the actual cooking time.
Instead, follow the recipe’s instructions about when to check, shake, or turn the food.
Step 8: Shake or Turn the Food When Needed
Some foods benefit from being moved during cooking.
For smaller foods such as:
- Fries
- Nuggets
- Vegetables
- Small frozen snacks
a gentle basket shake can redistribute the pieces.
For larger foods, such as chicken breasts or fish fillets, turning them with suitable tongs may help them cook more evenly.
You don’t have to shake every food automatically.
If the recipe doesn’t call for it, consider the size and arrangement of the food before interrupting the cooking cycle.
Step 9: Check the Food Before the Timer Ends
This is one of the best habits to develop when learning how to use an air fryer.
Air fryers vary in:
- Power
- Basket design
- Airflow
- Heating-element position
- Capacity
Food also varies in size and thickness.
So two air fryers can produce different results from the same recipe.
For your first attempt, check the food toward the earlier part of the expected cooking range.
If it’s already properly cooked and browned, you can stop.
If it needs more time, continue cooking in short increments.
For Meat and Poultry
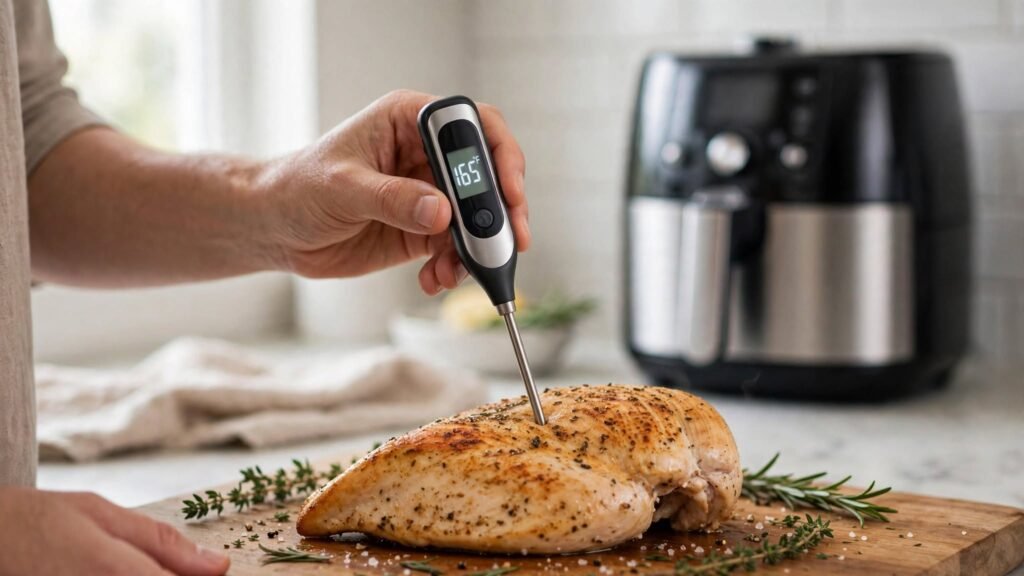
Don’t rely only on color or the timer when food safety depends on internal temperature.
Use a food thermometer and follow the appropriate safe-temperature guidance for the food you’re cooking.
Step 10: Remove the Food Carefully
When the food is ready, carefully remove the basket or tray.
Remember that the basket, tray, and food can be extremely hot.
Use appropriate protection when handling hot components.
Transfer the food to a plate or serving dish and allow it to cool enough to eat safely.
Don’t immediately grab the basket with bare hands just because the cooking cycle has finished.
What Should You Cook First in an Air Fryer?
Your first meal doesn’t need to be complicated.
Frozen Foods
Frozen fries, nuggets, hash browns, fish sticks, and similar foods are convenient because many packages already provide cooking instructions.
Vegetables
Small pieces of vegetables can be a good way to learn how your air fryer handles fresh food.
Potatoes
Potato wedges and other potato preparations can help you learn how basket spacing affects browning and crispness.
Simple Chicken Recipes
Once you’re comfortable with the controls, simple chicken recipes are another useful option.
Just remember that cooking time depends heavily on thickness, quantity, and the specific appliance.
How Much Food Should You Put in an Air Fryer?
There isn’t one universal amount that works for every air fryer.
Your basket has a practical capacity, and the manufacturer’s maximum-fill guidance should take priority.
For foods that need crisping, aim for enough space for hot air to circulate.
A basket that looks comfortably filled can produce very different results from one that’s packed tightly.
If Your Basket Is Too Full
Don’t automatically compensate by adding more cooking time.
Instead:
- Remove some food.
- Cook the first batch.
- Cook the remaining food separately.
Two properly spaced batches can produce better results than one overcrowded batch.
Why Is My First Air-Fryer Batch Not Crispy?
Don’t panic if your first attempt isn’t perfect.
Several things can affect crispness:
- Too much food in the basket
- Excess surface moisture
- Insufficient airflow
- Too much oil
- Too little cooking time
- Food pieces touching each other
- A recipe that wasn’t designed for your particular air fryer
Start by improving the food arrangement.
If the basket is crowded, that’s one of the first things to fix.
Why Did My Food Cook Too Quickly?
Your air fryer may simply cook differently from the appliance used to develop the recipe.
Other possibilities include:
- Small food pieces
- A lightly loaded basket
- Thin ingredients
- Higher-than-expected airflow
- A recipe with an inaccurate time for your particular model
Next time, begin checking earlier.
Once you’ve cooked the same food a few times, you’ll have a better idea of how your air fryer behaves.
Why Is My Food Still Undercooked?
If the outside looks ready but the center isn’t, don’t judge the food by appearance alone.
Possible reasons include:
- Pieces are thicker than expected.
- The basket is overcrowded.
- The food started very cold.
- The cooking time was too short.
- The recipe was designed for another appliance.
Continue cooking as appropriate and check the food again.
For meat and poultry, use a food thermometer when internal temperature is important for safety.
Common First-Time Air Fryer Mistakes
Overcrowding the Basket
Trying to cook everything at once is tempting.
It’s also one of the fastest ways to reduce airflow and get uneven results.
Better approach: Cook in batches when necessary.
Using Too Much Oil
An air fryer isn’t a deep fryer.
A large amount of oil isn’t necessary for most foods and can create smoke or excess grease.
Better approach: Use only the amount appropriate for the recipe.
Assuming Every Recipe Needs Preheating
Preheating depends on the model and recipe.
Better approach: Follow the instructions rather than treating preheating as a universal requirement.
Using the Same Temperature for Everything
Different foods have different cooking requirements.
Better approach: Start with instructions designed for the specific food.
Filling the Basket to the Top
More food doesn’t necessarily mean a faster meal.
Better approach: Leave enough room for airflow.
Walking Away Without Checking
The first attempt is not the time to assume the timer will be perfect.
Better approach: Check the food before the expected finish time.
Forgetting That the Basket Is Hot
The appliance may stop heating when the cycle ends, but its cooking components can remain very hot.
Better approach: Handle the basket and tray carefully.
Air Fryer Safety for First-Time Users
A few basic habits make air frying safer and easier.
Keep the Airflow Clear
Don’t cover ventilation openings or place the appliance somewhere that restricts airflow.
Keep Flammable Items Away
Keep paper towels, curtains, packaging, and other easily ignited materials away from the hot appliance.
Don’t Immerse the Main Unit
The electrical housing should not be submerged in water.
Be Careful With Hot Steam
Opening the basket can release hot air and steam. Keep your hands and face away from the opening.
Don’t Touch the Heating Element
The heating element becomes extremely hot during operation and can remain hot afterward.
Keep Children Away From the Hot Appliance
The basket and exterior surfaces can become hot enough to cause burns.
Follow Your Model’s Instructions
If your manual gives a specific safety instruction that differs from a general recommendation, follow the manufacturer’s instruction for your model.
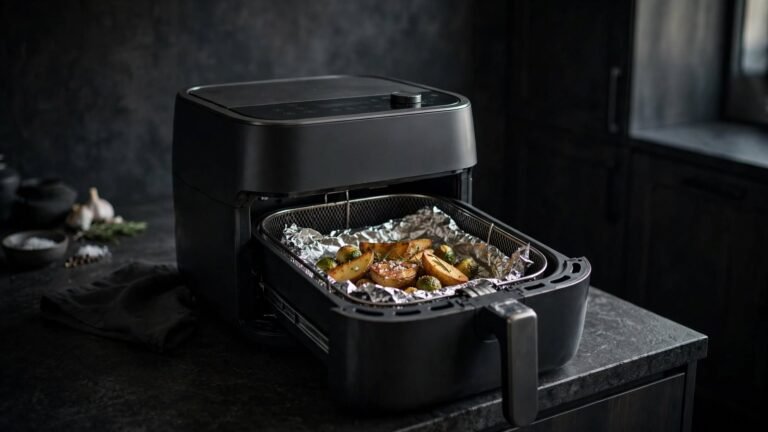
Can You Use Aluminum Foil or Parchment Paper?
You may encounter recipes that use foil or parchment paper in an air fryer.
Whether and how these materials can be used depends on the air fryer design and the manufacturer’s instructions.
They should never be positioned in a way that blocks necessary airflow or allows lightweight material to move toward the heating element.
For a first-time user, the simplest approach is to avoid adding accessories unless you understand how your particular air fryer is designed to use them.
How to Clean an Air Fryer After the First Use
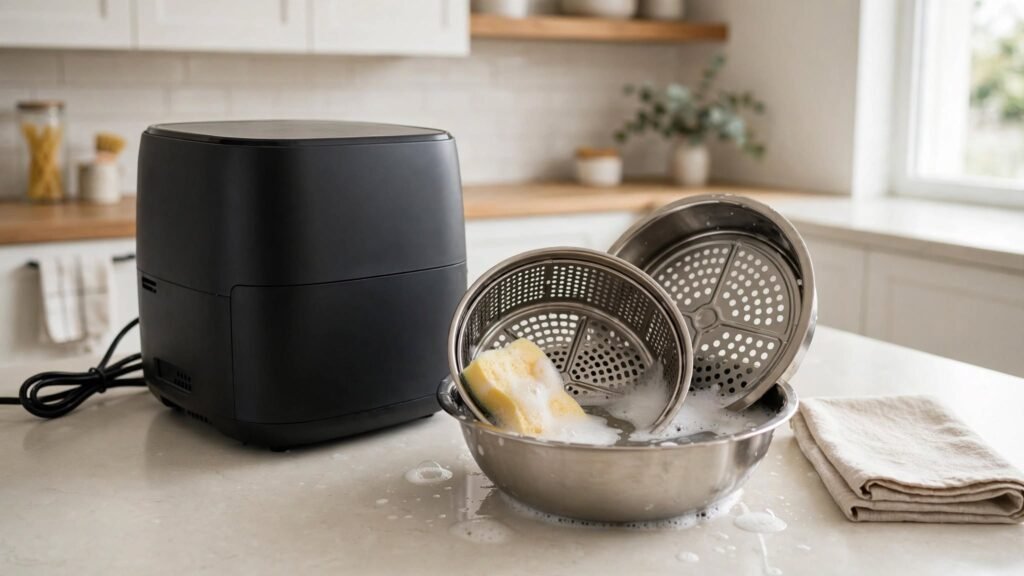
Cleaning after your first meal doesn’t need to be complicated.
1. Unplug the Appliance
Once cooking is finished, switch off and unplug the air fryer according to your normal operating procedure.
2. Let It Cool
Allow the basket, tray, and cooking chamber to cool sufficiently before cleaning.
Don’t start handling hot components just because you want to clean up quickly.
3. Wash the Removable Parts
Remove the basket, tray, or other removable components.
Wash them according to the manufacturer’s instructions.
Warm, soapy water can help loosen food residue.
4. Wipe the Interior
Use a suitable damp cloth or sponge to clean accessible interior surfaces.
Don’t pour water into the electrical unit.
5. Check for Grease and Food Residue
Look around accessible areas for crumbs, grease, or stuck-on food.
If you see buildup, clean it according to your model’s instructions.
6. Dry Everything
Dry the removable components thoroughly before putting them back into the appliance.
Do You Need to Clean an Air Fryer After Every Use?
The removable cooking parts should generally be cleaned after use, particularly when they’ve come into contact with grease, sauces, or food residue.
Regular cleaning also makes it easier to spot buildup before it becomes a larger problem.
If your air fryer starts producing unusual odors or smoke, stop and inspect it for grease or food residue once it has cooled safely.
How to Get Better Results After Your First Attempt
Once you’ve made your first meal, a few habits will make future cooking easier.
Keep Notes on Successful Settings
If a food turns out well, remember the temperature, approximate cooking time, quantity, and whether you preheated.
Your own successful settings can become a useful reference for your particular air fryer.
Change One Variable at a Time
If food cooks too quickly, don’t simultaneously change the temperature, quantity, cooking time, and preheating method.
Change one thing and see what happens.
This makes it much easier to understand your appliance.
Cook Similar-Sized Pieces Together
Similar-sized pieces generally have a better chance of finishing around the same time.
Don’t Chase Crispiness With Endless Cooking
If food is already browned but the center needs more time, continuing at the same high temperature may make the outside too dark.
Consider the food’s thickness and the recipe’s instructions instead.
Give the Basket Enough Space
Good airflow is one of the fundamentals of air frying.
If you remember only one thing from your first few meals, remember this: don’t automatically fill the basket to its maximum physical capacity.
Frequently Asked Questions
How do you use an air fryer for the first time?
Remove all packaging, wash the removable parts, check the manufacturer’s instructions, position the appliance safely, and follow any model-specific first-use procedure. Then prepare a simple food, arrange it without overcrowding, set the appropriate temperature and time, and check the food before the cooking cycle ends.
Do I need to wash my air fryer before the first use?
Wash the removable food-contact parts before cooking your first meal. Use the cleaning method recommended for your particular model, and keep the main electrical unit out of water.
Should I run my air fryer empty before using it?
Only if your model’s instructions recommend an empty first-use cycle. There isn’t one universal procedure for every air fryer.
Should I preheat an air fryer?
Not always. Preheating depends on the recipe and the specific air fryer. Follow the applicable instructions rather than assuming every recipe requires it.
What should I cook first in an air fryer?
Simple foods such as frozen fries, hash browns, nuggets, fish sticks, or vegetables are good choices for learning how your air fryer cooks.
How much oil should I use in an air fryer?
It depends on the food. Some foods need no additional oil, while others benefit from a light coating. Avoid using more oil than the recipe requires.
Why is my first air-fryer meal not crispy?
Overcrowding, excess moisture, insufficient airflow, or an unsuitable cooking time can all reduce crispness. Start by giving the food more space in the basket.
Can I cook frozen food directly in an air fryer?
Many frozen foods can be cooked directly from frozen. When package instructions provide air-fryer directions, use them as your starting point.
How do I know when chicken is done?
Don’t rely only on the outside color or cooking time. Use a food thermometer to check the internal temperature according to applicable food-safety guidance.
How do I clean an air fryer after using it?
Let the appliance cool, unplug it, remove the basket and other removable parts, and clean them according to the manufacturer’s instructions. Wipe accessible interior surfaces and dry the removable components before replacing them.
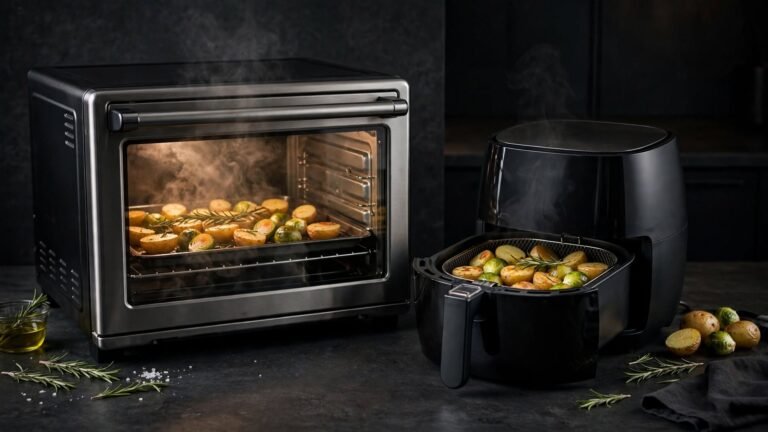
Can an air fryer replace a conventional oven?
Not completely. An air fryer is useful for many smaller portions and foods that benefit from circulating hot air, while a conventional oven is generally more practical for large dishes and multiple items.
For a broader look at how air fryers compare with other cooking methods and how they work, see our What Is an Air Fryer? guide.
Final Conclusion
Learning how to use an air fryer for the first time doesn’t require mastering every setting on day one.
Start with the basics: remove the packaging, clean the removable parts, read the important instructions for your model, place the appliance where it has adequate ventilation, and follow its specific first-use recommendations.
For your first meal, choose something simple, avoid overcrowding the basket, use an appropriate amount of oil, and don’t assume the timer will be perfect. Check the food as it cooks and use a thermometer when internal temperature matters for food safety.
After a few meals, you’ll begin to understand how your particular air fryer behaves. That’s when the appliance stops feeling like a mysterious new gadget and starts becoming a genuinely useful kitchen tool.


That’s very useful guidelines and detailed key points are mentioned
ok thanks bhi jan